How I deploy smart contracts
Introduction
Smart contracts are a very integral part of the Web3 ecosystem. They allow us to run decentralized programs that run autonomously. The different Web3 ecosystems each have a different version of what is a smart contract.
Sound like gibberish? Look below
A "smart contract" is simply a program that runs on the Ethereum blockchain. It's a collection of code (its functions) and data (its state) that resides at a specific address on the Ethereum blockchain. They can define rules, like a regular contract, and automatically enforce them via the code. Smart contracts cannot be deleted by default, and interactions with them are irreversible.
In this post, you will learn how I normally create and deploy smart contracts for the Ethereum platform.
When you're finished, you'll be able to deploy your own smart contract to the Ethereum network using a virtual wallet (Metamask), Solidity, Hardhat, and Alchemy.
Prerequisites
Before you begin this guide you'll need the following:
- A high-level understanding of Ethereum networks and smart contracts before deploying smart contracts.
- Node.JS LTS. You can download and install Node here
- A code editor. For this guide, I used VS code
- The PNPM package manager
- A Goerli Testnet private key : see this tutorial
- An Alchemy private key: see this tutorial

Let us begin...
Step 1 — Setting Up VS Code Extensions For Improved Workflow
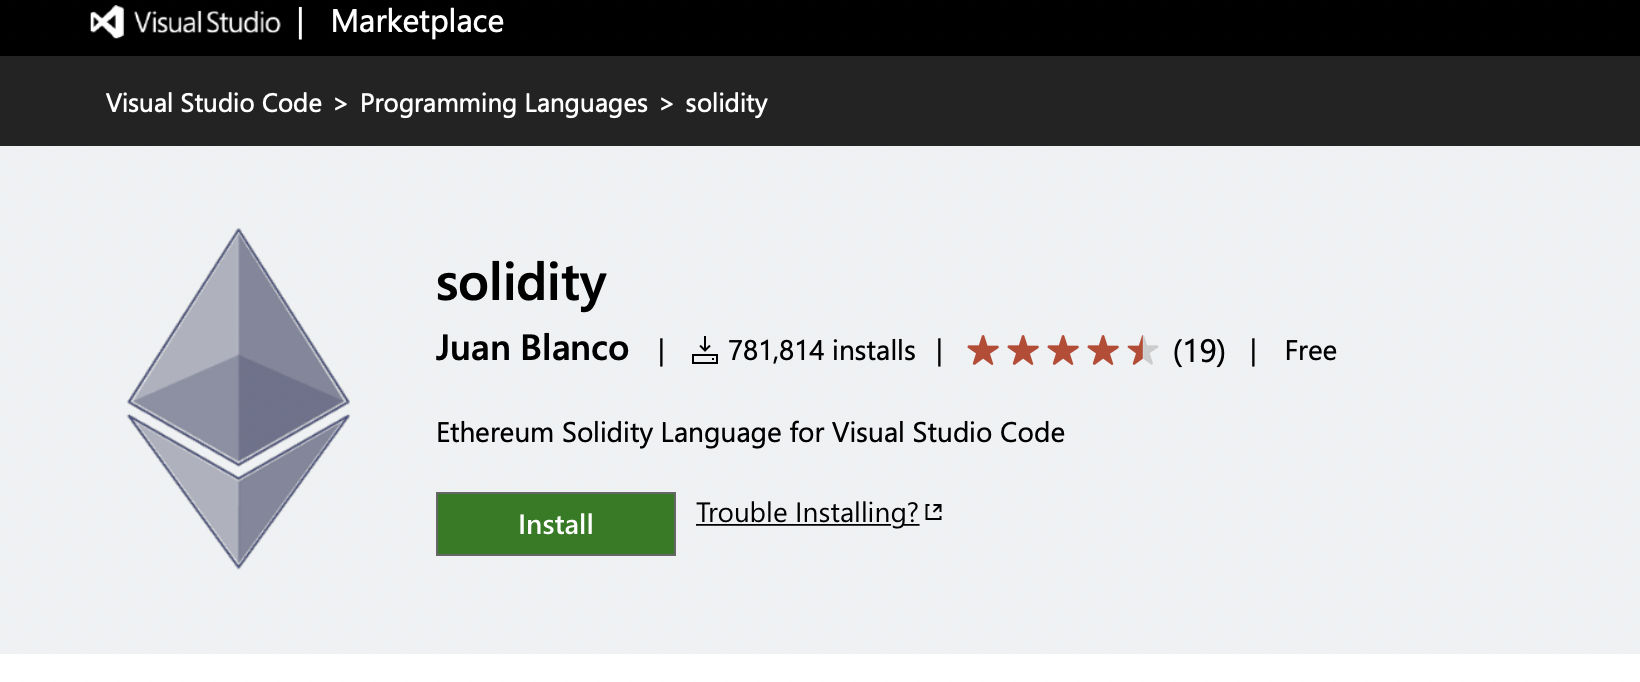
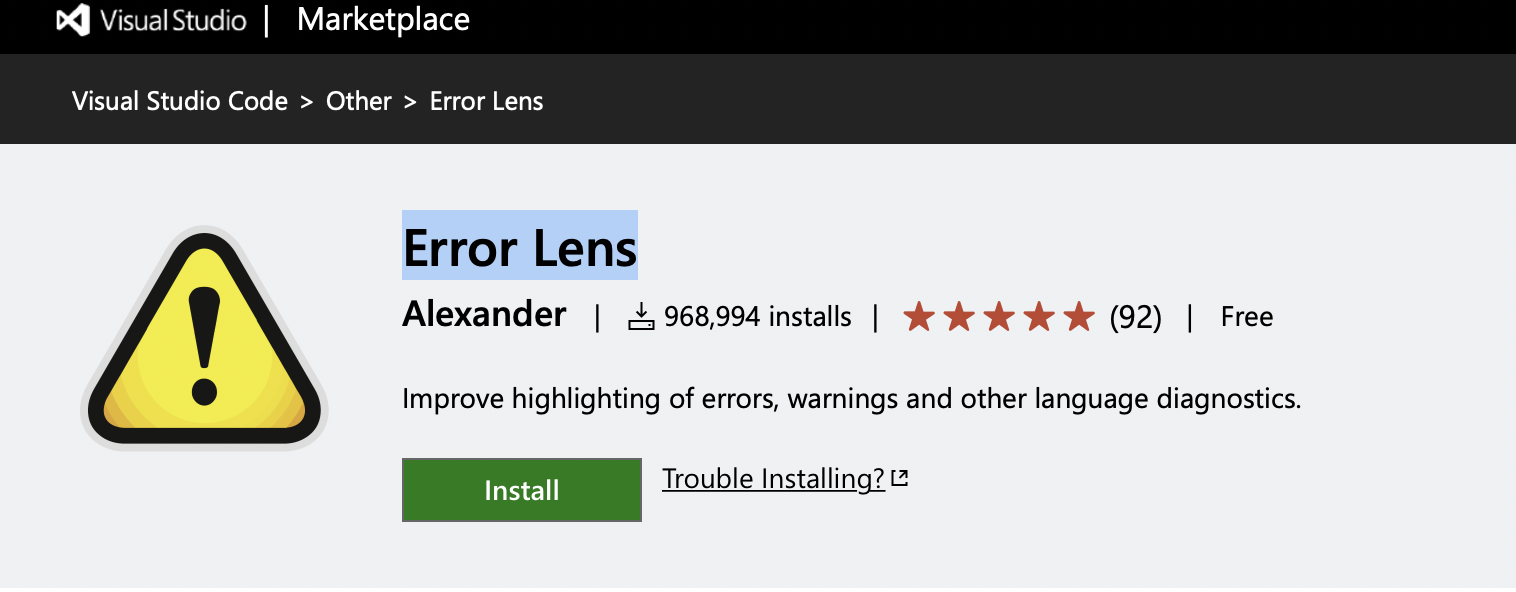
Before writing any code of a smart contract, I normally make sure that my code editor is properly set up for the task ahead. Solidity is a compiled language and we want to catch the error as early as possible. For this reason, I like to use two extensions:


Combined, these two extensions will give you a early look at potential errors before even compiling your solidity code into a deployable artifact. Each time an error occurs, you get to see it right next to your code without hovering over it.

Now that you have the language rightly set up in your editor, you can move on to structuring the project!
Step 2 — Understanding the Project Structure
Structuring a project is about making sure it will scale well. This is not an easy task for smart contracts as the code cannot be upgraded easily later on.
This is why I don't write smart contracts in isolation. The reasoning behind this is that contracts will be consumed by all sorts of users. Writing our smart contract close to the users will make it easier for them to use it.
Users will interact with the smart contract through our application UI so I like to write my smart contracts in the same repo as the UI.
Writing smart contracts inside a Monorepo keeps you closer to the code consuming it
It allows you to:
- Test your UI against your smart contracts running on a Test Network.
- Export Typescript definitions of your smart contract usage.
-
Maintain a single codebase instead of multiple repositories.
Monorepo Tooling
Luckily for us, Monorepo tooling is now much easier to use than ever before.
By using only PNPM and Turbo repo, you can easily manage your Monorepo.
Pay close attention to the root package.json, there's not much going on because Turbo repo takes care of executing commands in the relevant packages.
{
  "name": "@project",
  "description": "A monorepo for a happy web3 life",
  "private": true,
  "workspaces": [
    "packages/*"
  ],
  "scripts": {
    "dev": "turbo run dev",
    "test": "turbo run test",
    "deploy": "turbo run deploy"
  },
  "devDependencies": {
    "turbo": "^1.4.3"
  }
}
The real action is going on in the ./packages/blockchain folder. We have four folders of interest here:
./packages/blockchain/contracts./packages/blockchain/test./packages/blockchain/scripts./packages/blockchain/types
Here is what each does:
Contracts
This is the actual code for the smart contracts. Here, we can write all our solidity logic and focus on making sure our application is properly secure
Test
The test folder is equally important as this is your first line of defence in writing good Solidity code. Solidity is a special purpose language, it is meant to be executed within the confines of a blockchain. This is why it lacks testing capacities and libraries. To solve this issue, you can rely on 3 javascript libraries and run code with them:
- Hardhat: a compilation and smart contract mock runtime.
- Jest: an assertion library and delightful JavaScript Testing Framework with a focus on simplicity.
- Ethers.js: a complete and compact library for interacting with the Ethereum Blockchain, wallets, smart contracts and its ecosystem. Click here to learn more about wallets and authentication.
Using these 3 together will provide you with the capacity to execute a meaningful test for your smart contract.
Scripts
These scripts rely on hardhat and ethers to execute the following actions:
- Deploy the smart contract
- Generate Typescript type definitions to be consumed later in your application.
Types:
This is my favorite part about this set up! Typescript type definitions are exported from this folder so that the UI can consume them and interact easier with the smart contract.
Step 3 - Setting up the repository
Make sure you download the repository here. When this is done, you can set it up by running the following instructions:
- Rename the .env.example to .env.
- In your terminal, type the command below to install the dependencies.
pnpm install- Run the command below to build the project and generate types for your smart contract.
pnpm run build- To deploy the smart contract, run the line of code below
pnpm deployConclusion
In this article you learnt about the necessary tooling to deploy your own smart contract to the Ethereum chain with the most minimal of fuss. Share with your community and colleagues building in the web3 space so we can make web3 available for everyone.
You can always support this effort by following me on Twitter!